In April, I reached the end of my Moleskine softcover notebook which meant it was time to move into a brand new bullet journal notebook. I love to experiment with different notebooks (it’s all part of the fun of creative journaling!) so this time I chose something completely different. Choosing a notebook, and migrating your pages, can be a little overwhelming. Follow my step-by-step system to set up a new bullet journal notebook with ease (even if you’re getting started for the first time!)
You might prefer to stick with a favourite brand of notebook and that’s perfectly fine! But if you’re keen to try something new, here are some things to consider:
Do you carry your notebook around with you? Choose a notebook that is strong and sturdy and able to go the distance. If you plan to keep your notebook for months, or even years to come, then choose quality acid-free paper. If the notebooks you’ve previously used are looking battered, opt for something stronger, or try using a notebook cover.
How do you use your pages? Choose a notebook with pages big enough to fit all the information you need. Were there unused spaces in your previous notebook? Try something smaller!
Do you prefer grid, lined or blank paper? If you’ve only tried one style, why not experiment with something different? (Test out different styles using the printable grid paper from the Planner Lovers Resource Library!)
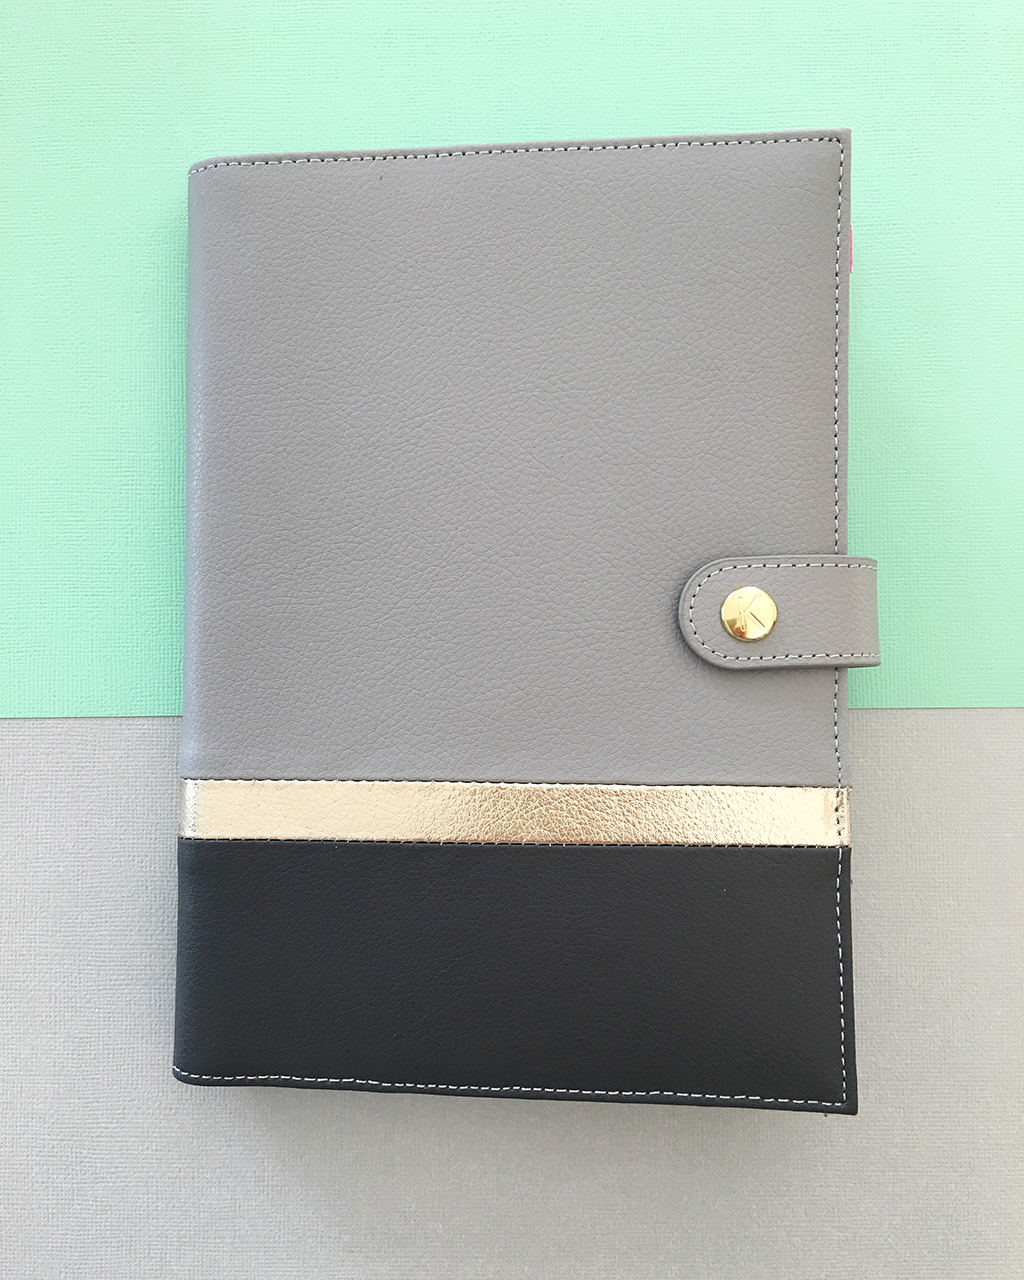
The new bullet journaling notebook I have chosen is an A5 Clairefontaine Clothbound Notebook. It’s a softcover, which is what I need to fit inside my leather notebook cover, from kikki.K. It comes with 96 sheets of crisp white paper with a smooth satin finish. The paper is acid-free with a weight of 90gsm. The pages inside are completely blank. Compared to notebooks I’ve used in the past, the Clairefontaine is very well priced. It’s an absolutely gorgeous notebook and I’m thoroughly enjoying using it!

My previous notebook, a large softcover Moleskine, lasted for four months so the Clairefontaine is my second notebook this year. When finishing up a bullet journal notebook and moving into a new one there are a few steps to take.
Before starting a new notebook, review your old one. Look at the pages inside your completed notebook and make a list of the ones you want to migrate into your new notebook. This will most likely include pages such as password logs, calendars, current trackers, and any collections you refer to on a regular basis.
Tip: While reviewing, also look for any open tasks that have been missed. Are they complete? Check off, or migrate, these tasks accordingly.
Finally, make sure all important pages have been indexed so you can find them again later.
Some notebooks come with pre-numbered pages. If yours doesn’t, then the next step is to add a page number to the bottom of every page in your new notebook. Start with the very first page and number all the way through until the end. Setting this up before you begin journaling will make indexing important pages quick and easy, saving you time down the track.
From your list of pages to be migrated, do any of them require a printable template? Print these templates now so you can arrange them in order, before adding them to your journal.
The first page I add to a new notebook is always the Key. This is where I can record the bullets, symbols and signifiers I will use throughout my journal. I allocate one single page to my key.
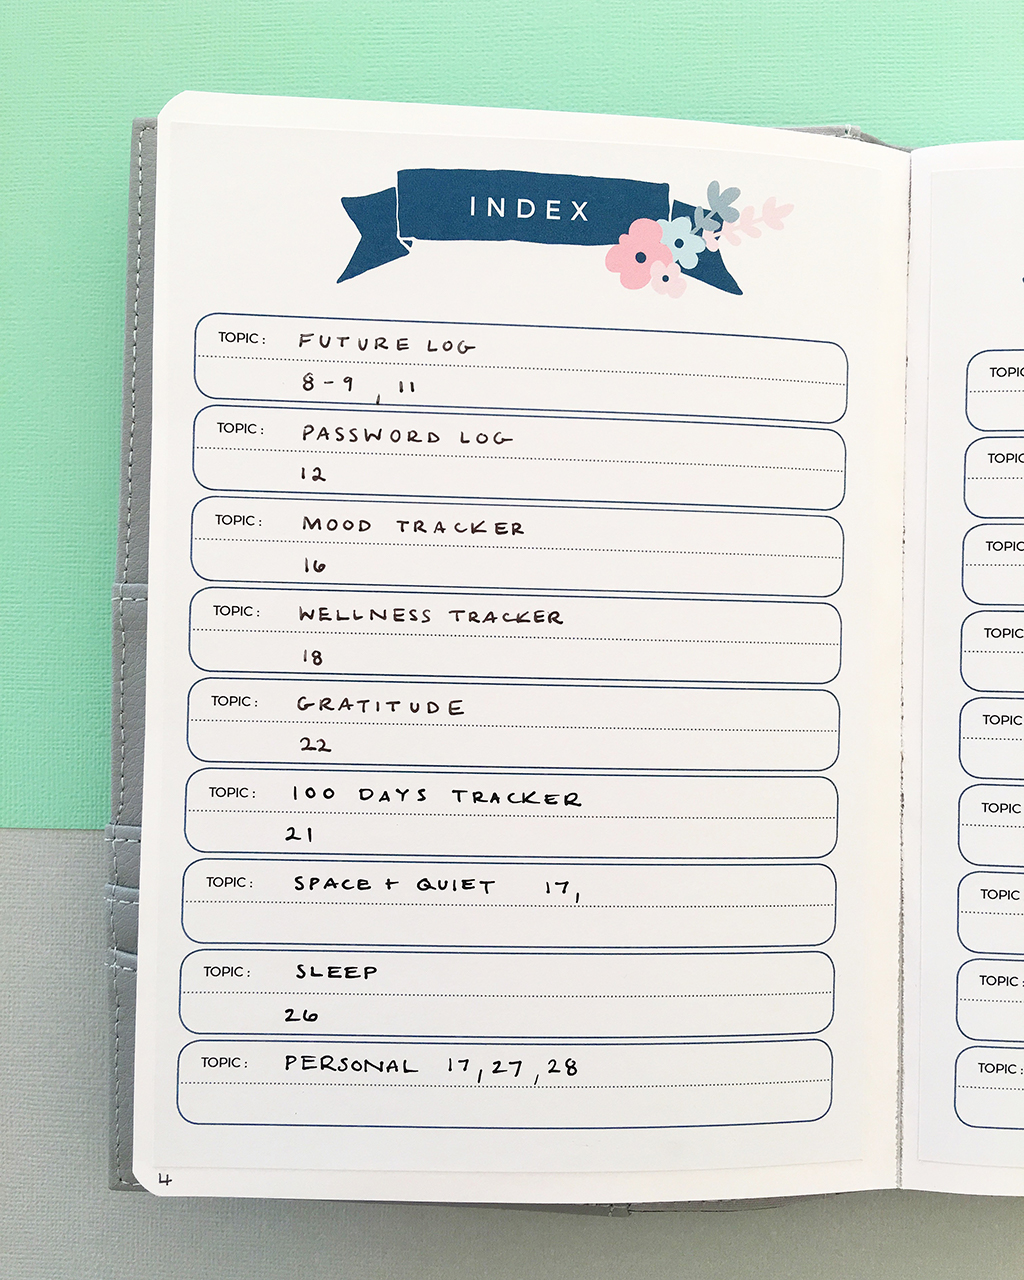
After your Key, create an Index page. In my new notebook, I chose to use a printable Index. It has plenty of space and is particularly useful if you have collections that span over many pages.
Tip: Skip a page or two after your Index, so there’s room to add another index if the first one becomes full!
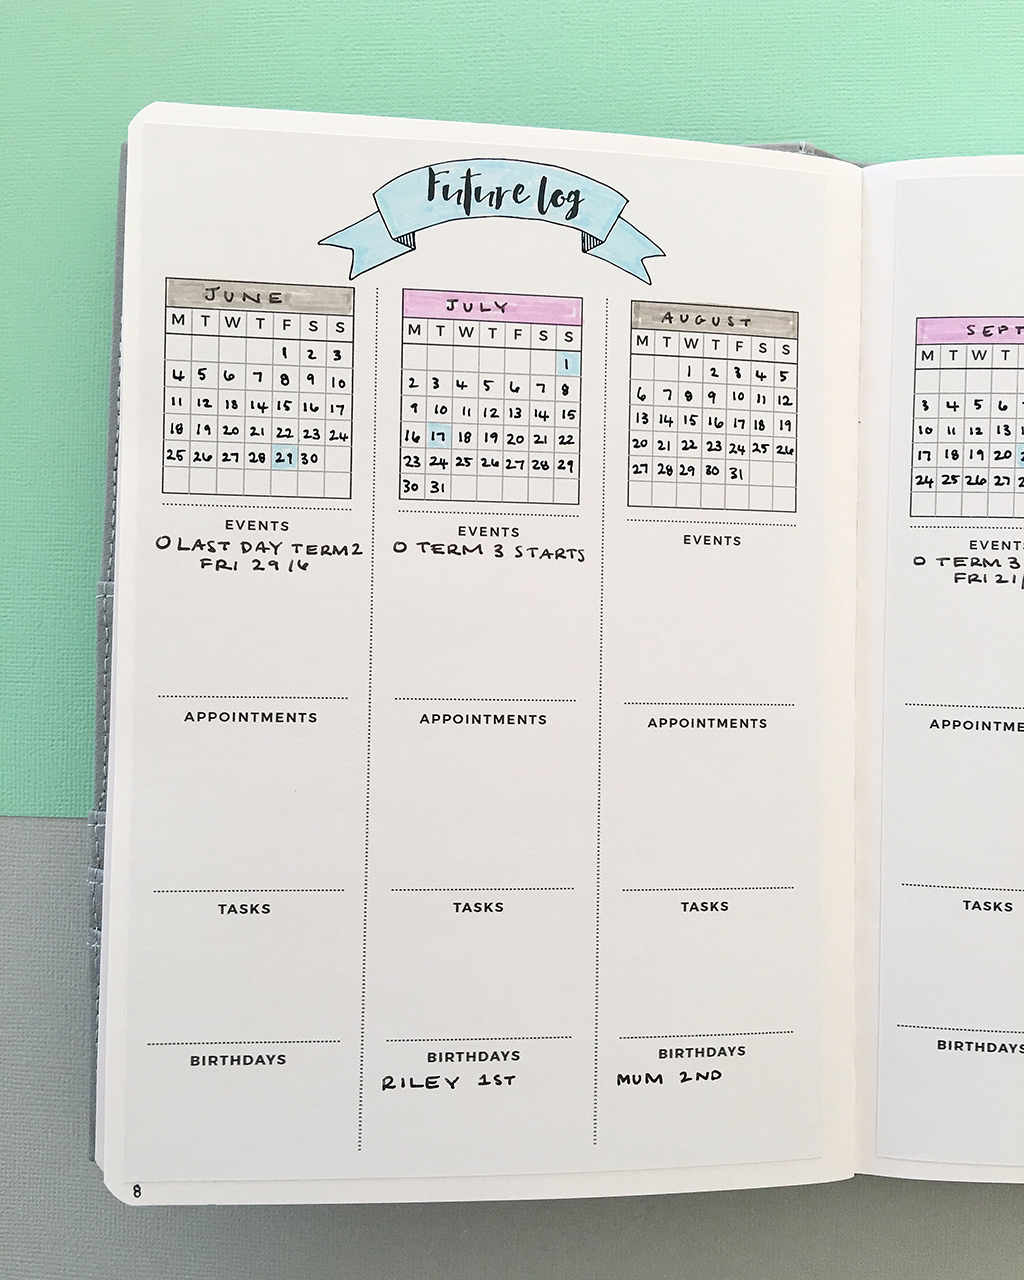
Next, set aside a double page spread for your six-month future log. (Leave room on the next spread for another six months to be added down the track, if needed.) In my journal, I’m using the printable Future Log template that is free to download from the Planner Lovers Resource Library. It comes with blank calendars so you can start your future log in any month.
Before adding any entries to your new Future Log, take a look at the old one, from your completed notebook. Are there any entries that need to be migrated to your new Future Log? Add them in, along with new entries.
Now that your ‘core’ bullet journaling pages are set up, continue to migrate, or add new, collections, pages and trackers according to your personal needs.
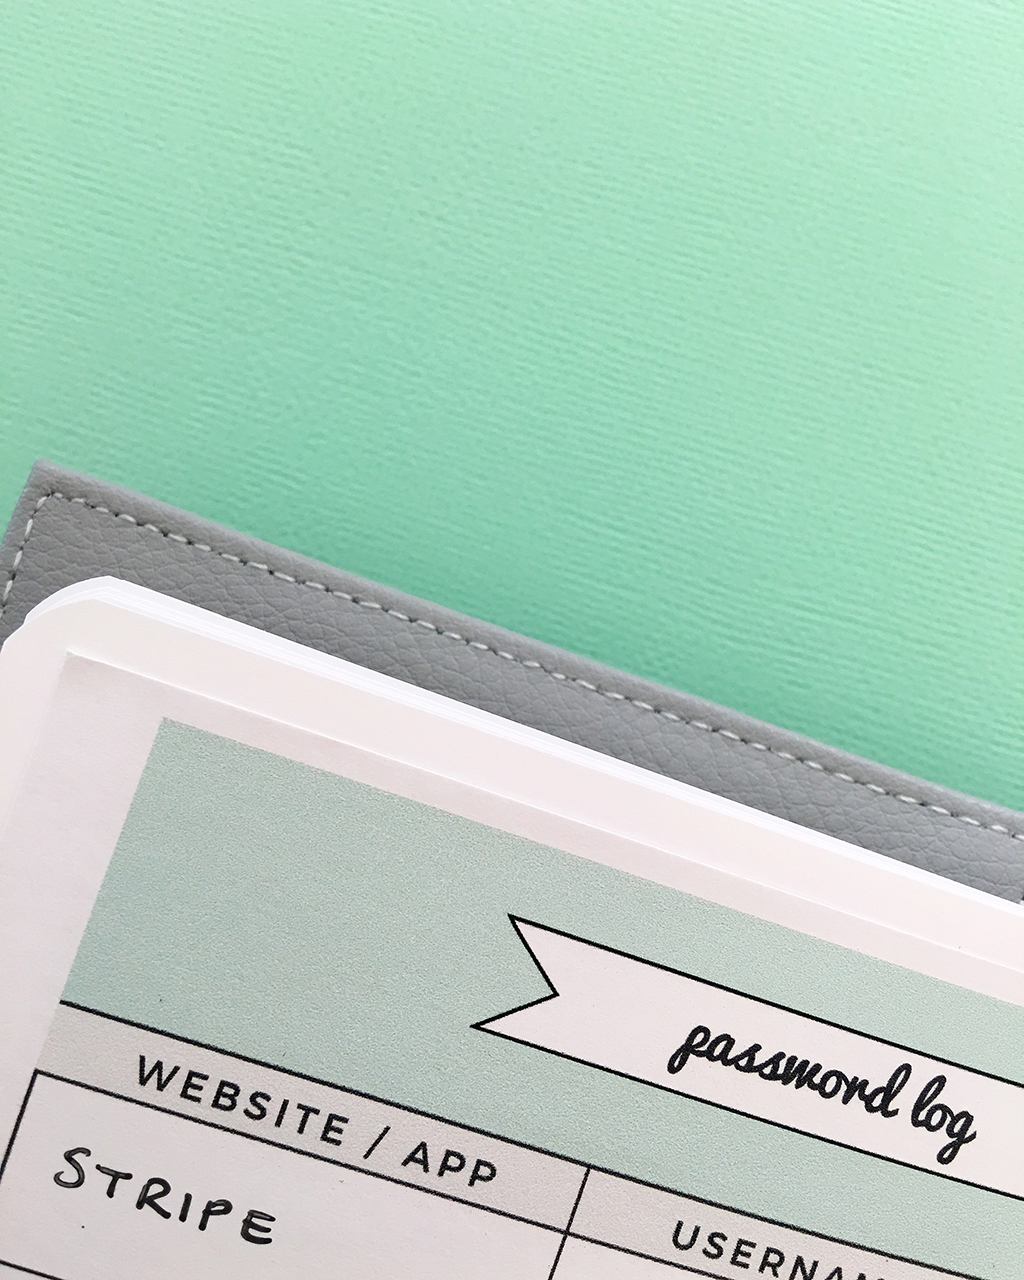
When adding a new password log, I migrate passwords stored in my previous journal only if I know I will refer to them often. I add new entries to the password log whenever I create a new account or log-in for a website or app. In my current notebook, I have added a printable Password Log to a single page. The page beside it has been left blank to allow room for a second password log if needed.
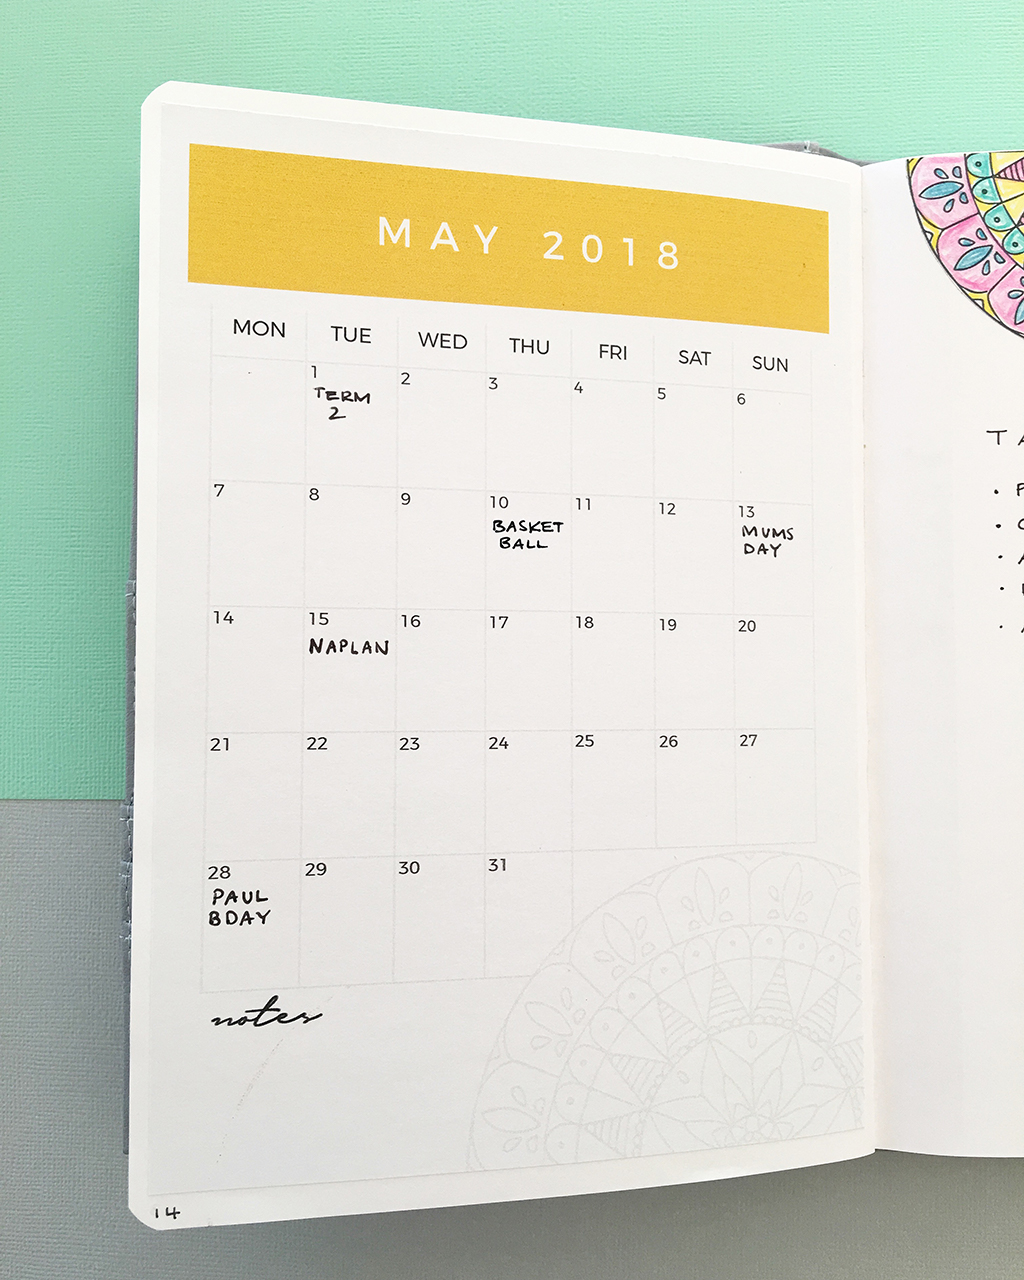
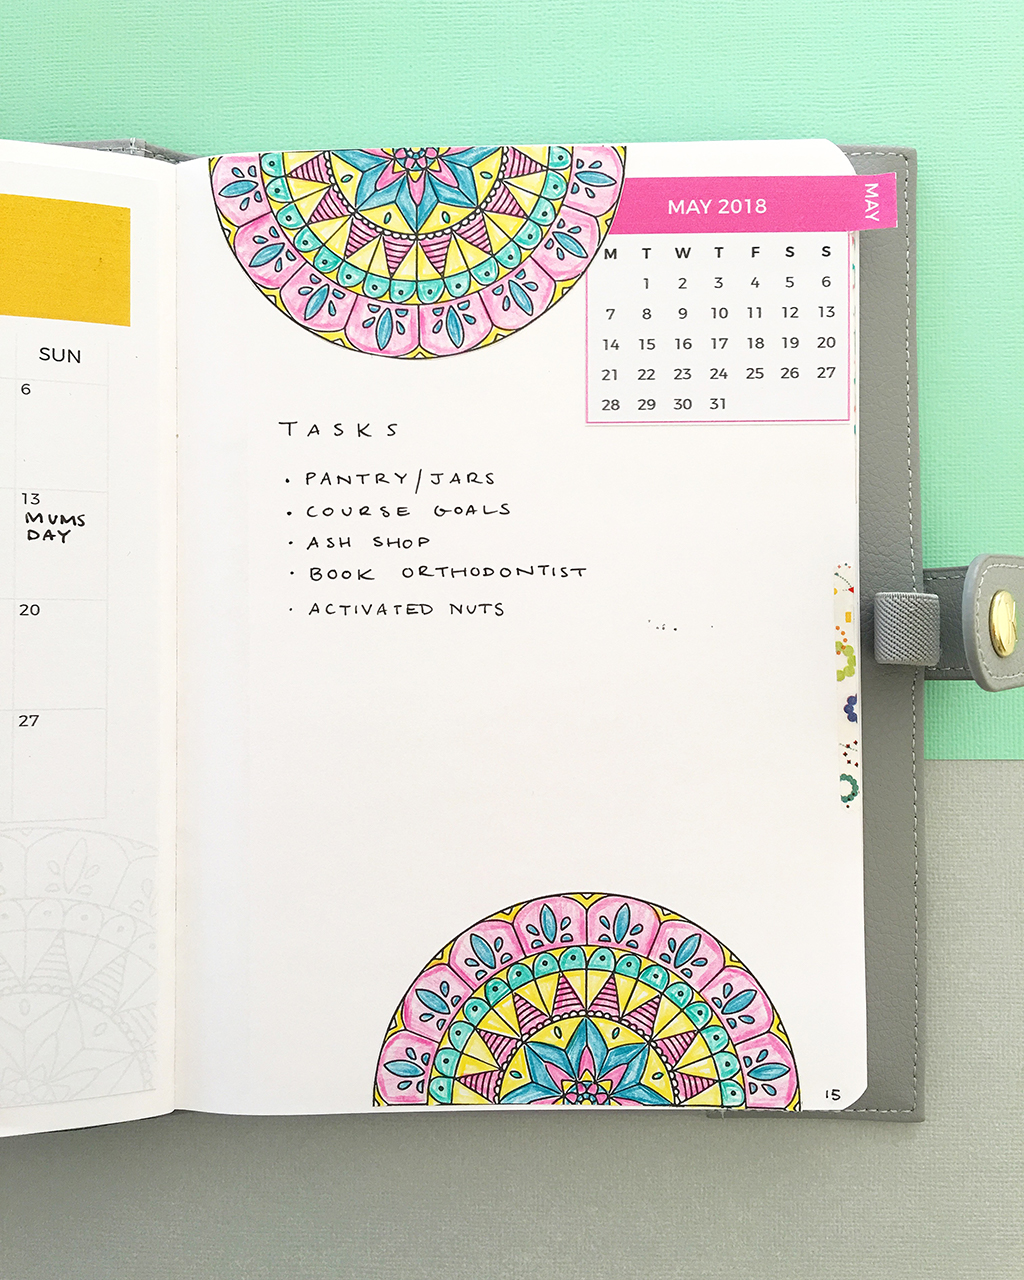
My Monthly Log has stayed fairly consistent over the past few months. It spans across one double page spread. On the left-hand page, I always add a printable calendar. On the facing page, I decorate with a mandala and add a small printable calendar with a ‘page tab’. I also write down my tasks for the month.
Tip: When setting up your first monthly log in your new notebook, refer back to the last month in your old notebook. Migrate any incomplete tasks to your new monthly log.
Every month I include a Symbol Mood Tracker in my journal. This is honestly one of the most valuable pages in my journal. Reflecting on the results over several months has given me so much insight into my moods and their relationship with my sleep patterns and hormonal cycle.
I love my mini trackers and include them in my journal every month! My Green Smoothie, Workout and One Hundred Days Of… mini trackers are all created using tracker stamps. If you’re interested, I wrote a full post about how I use stamps to create mini trackers.
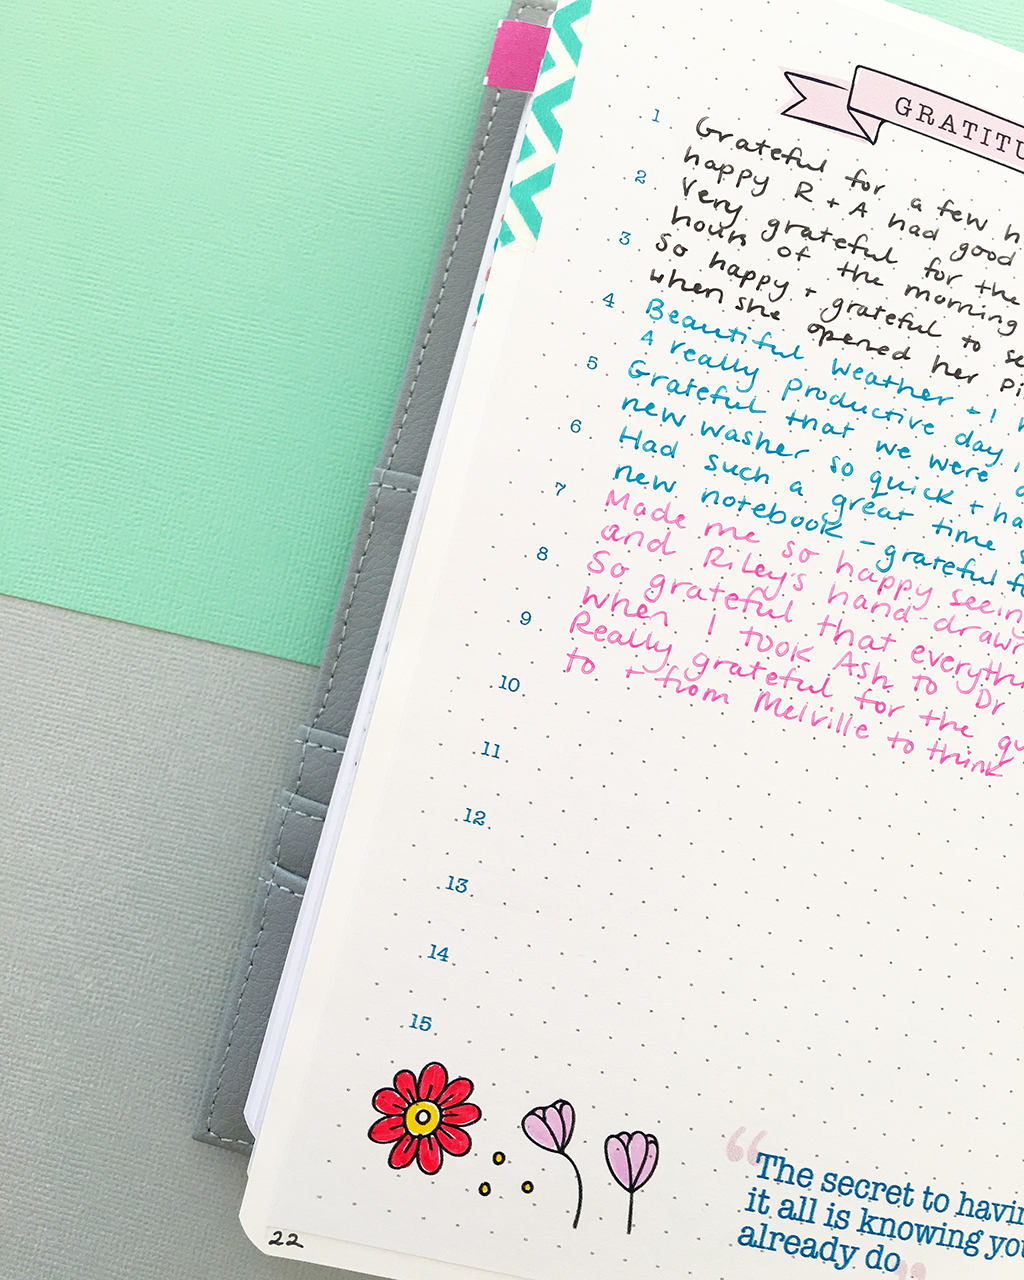
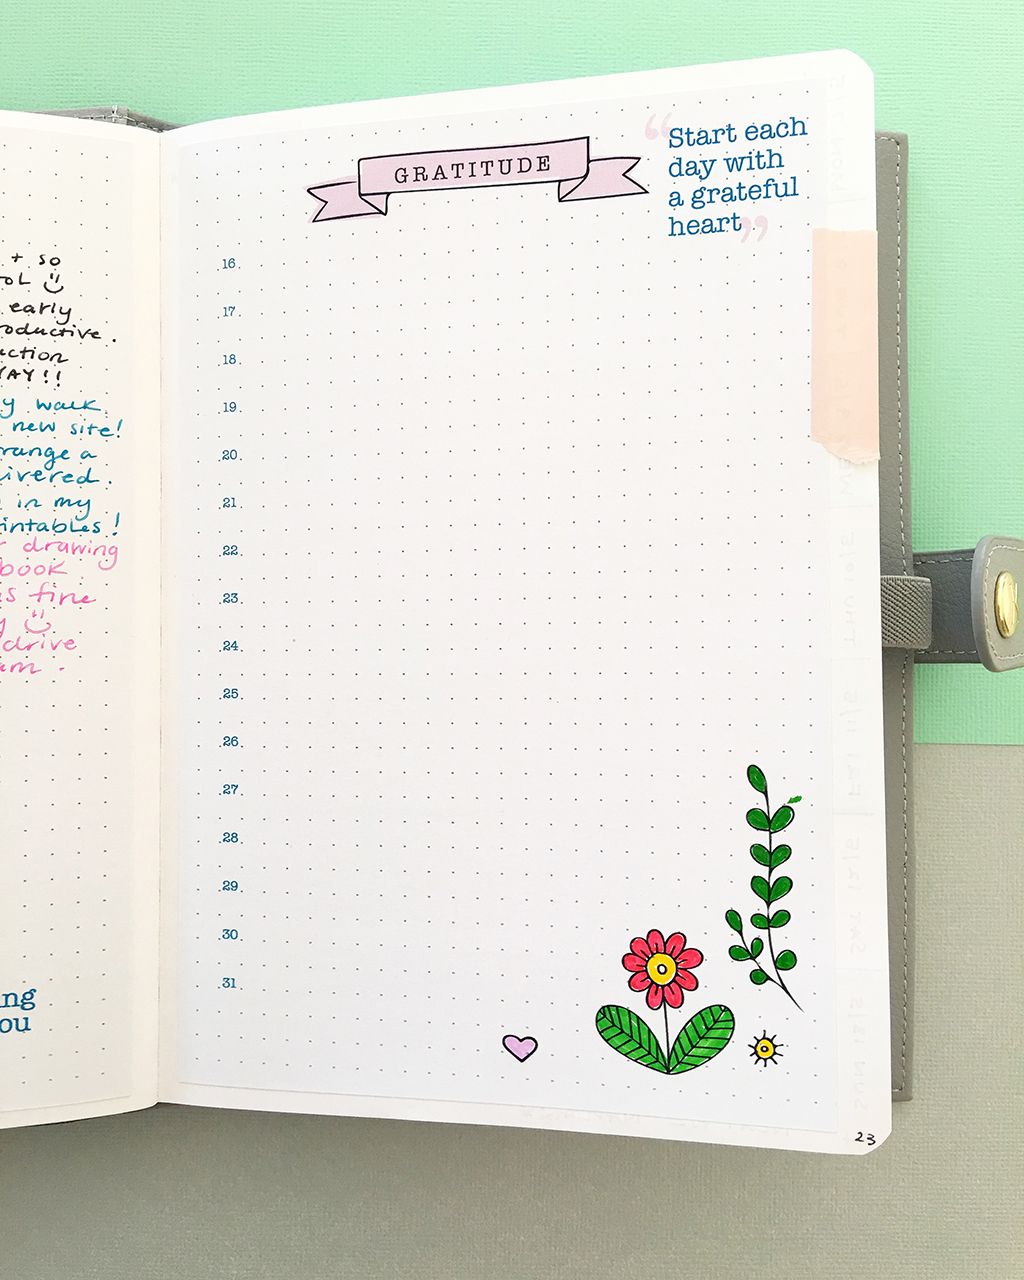
Another of my favorite bullet journal collections, that I include every month, is a double page spread of Gratitude journaling. This is where I write a line or two about what I’m grateful for every day of the month. If I miss a day here or there, I simply write extra entries when I have the time. I wrote more about keeping a gratitude journal in this post.
When your core pages, collections, and monthly log are all set up, you’re ready to dive into weekly and/or daily planning!
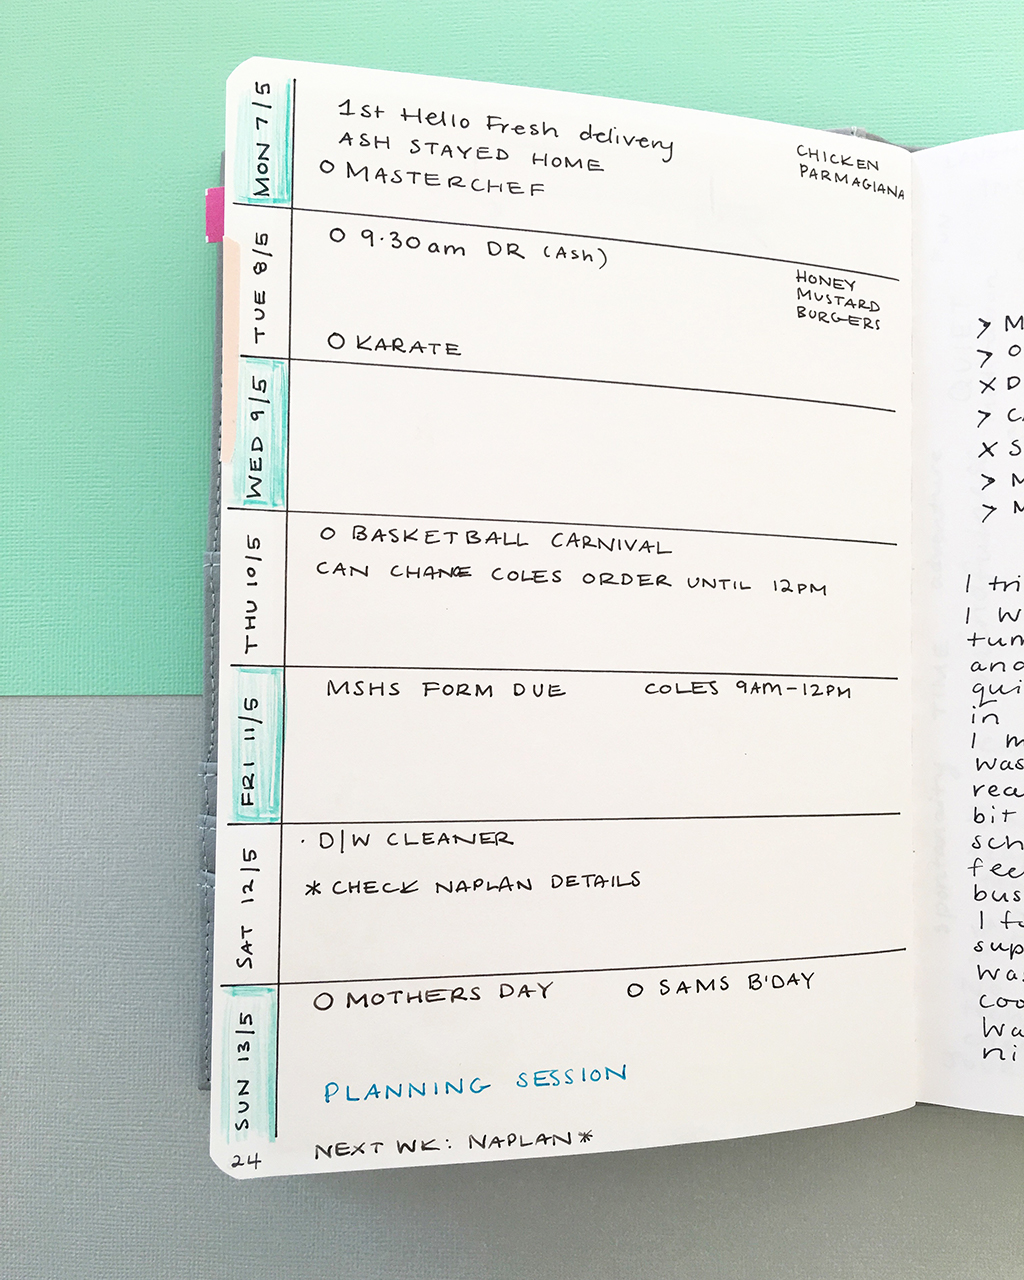
I start with a Weekly Log. This page changes regularly to fit my current needs. It usually includes a small space to jot down notes, tasks, and events for each day of the week. I keep the layout simple so I can draw it by hand every Sunday and prepare for the week ahead.
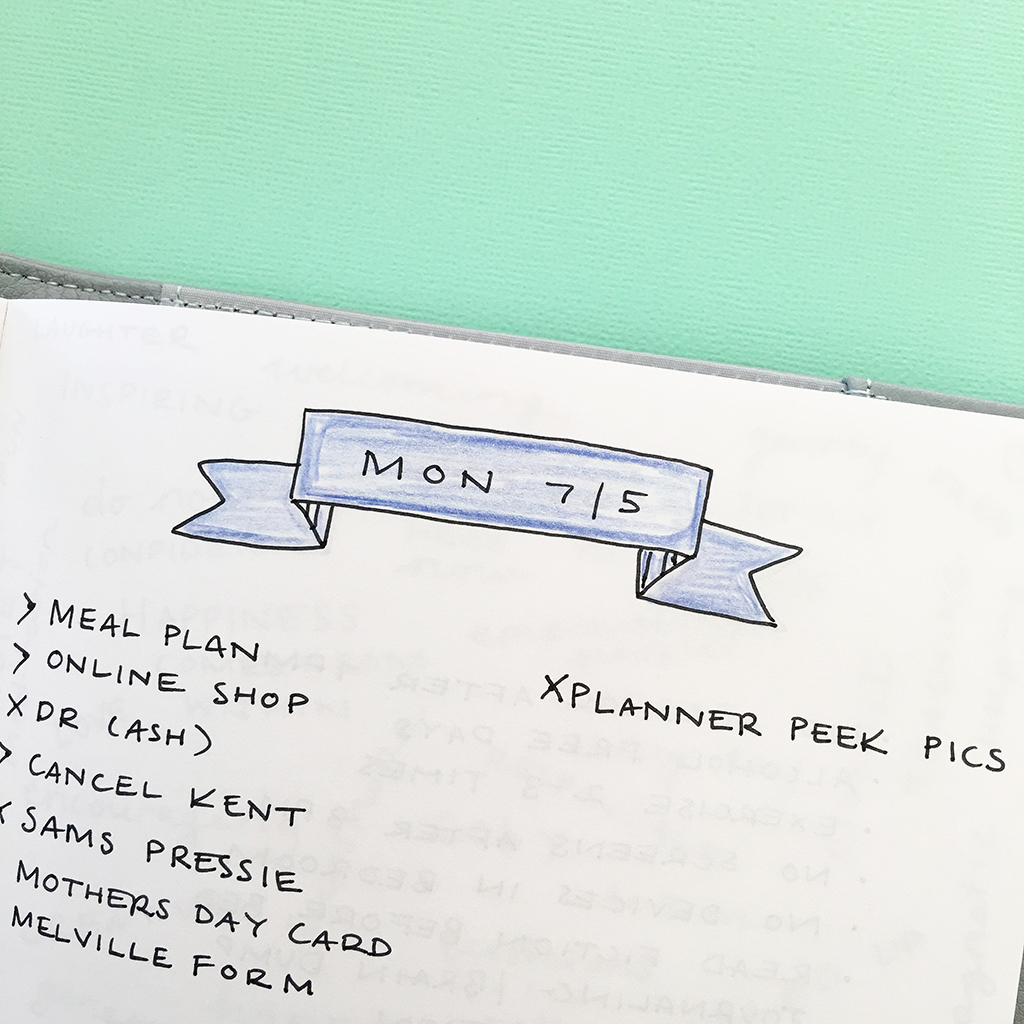
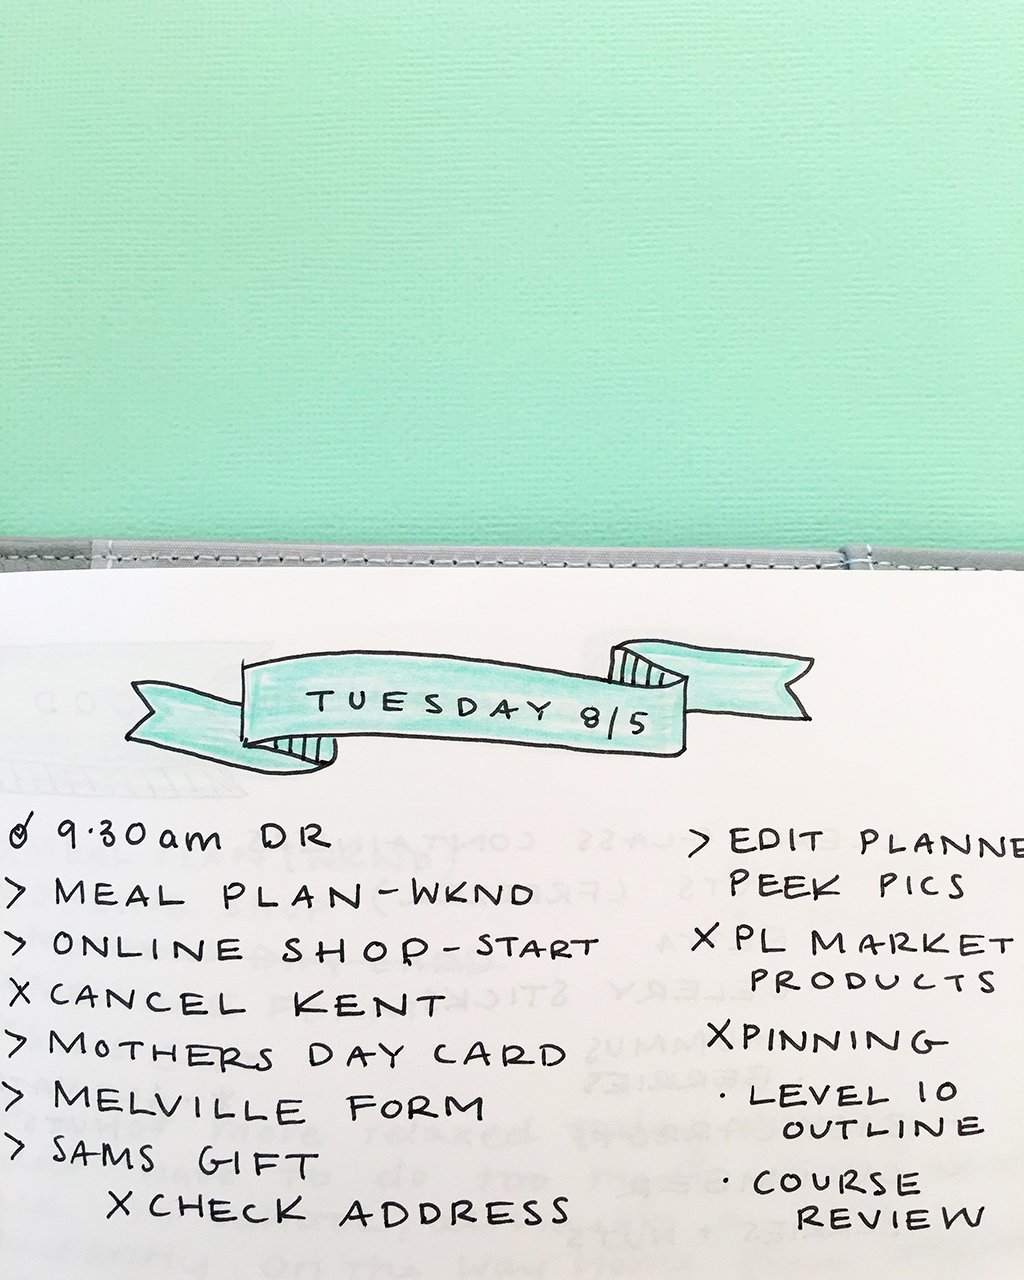
Most days, I create a daily log in my journal. It varies from a messy scribbled-down list of to-do’s, tasks and notes, to a neat, hand-drawn layout with a coloured-in banner! It all comes down to time, but productivity always takes priority over creativity and neatness.
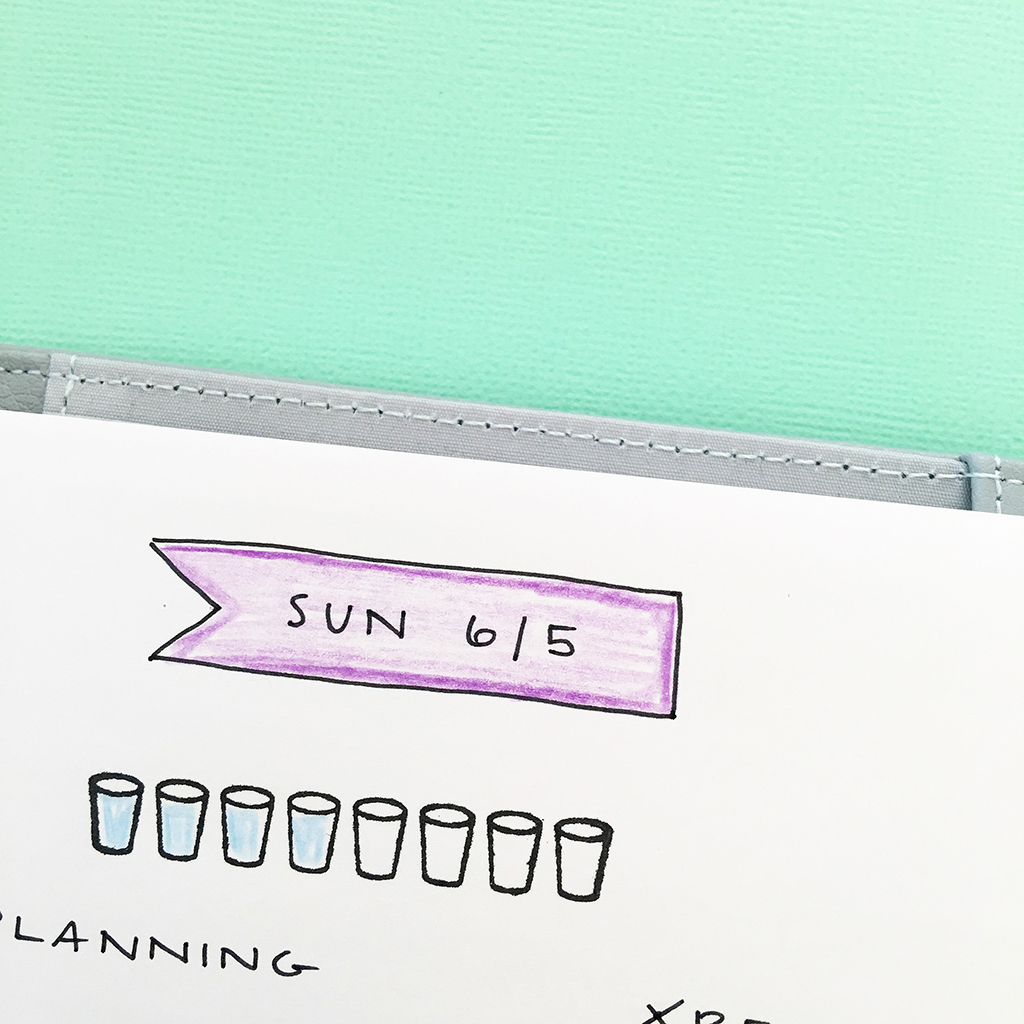
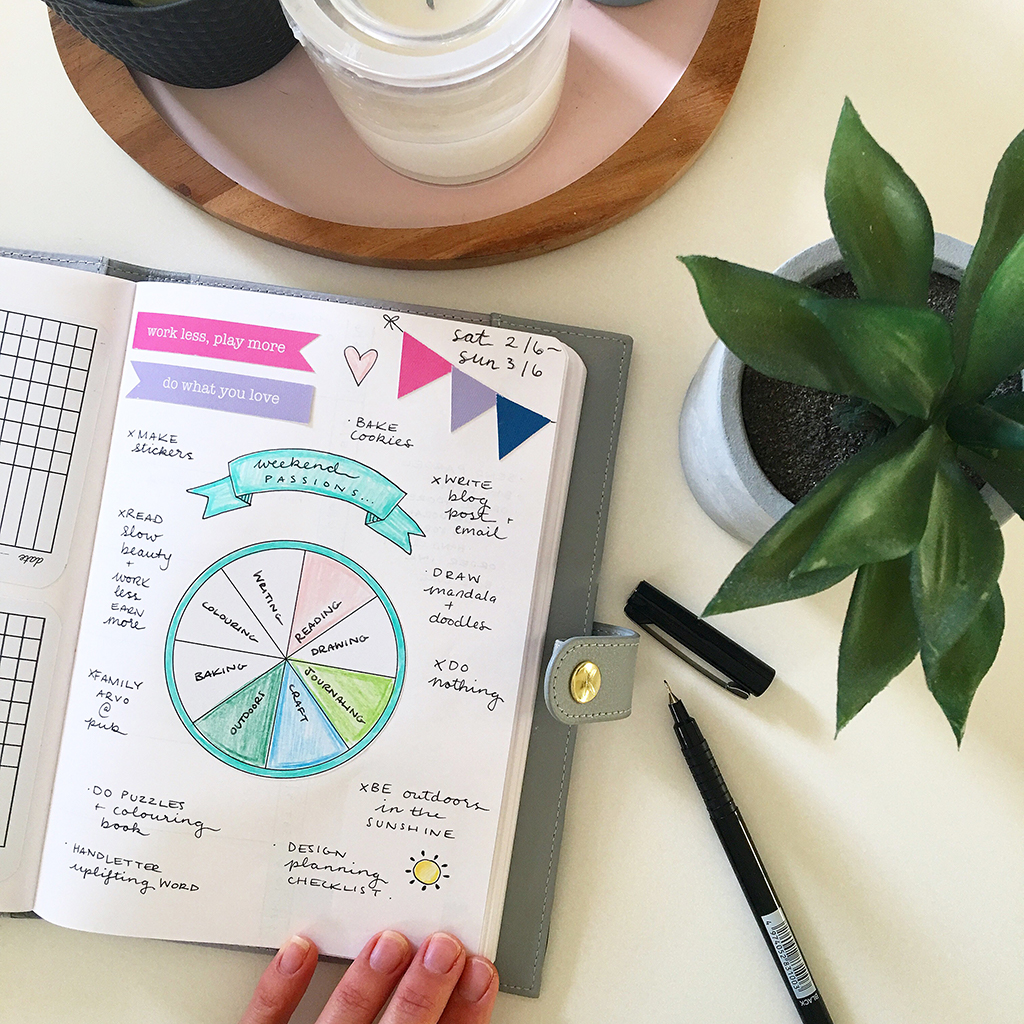
While my weekly and daily log both focus on productivity, it’s in my Weekend Log that I allow myself to get creative! Every weekend, I create a single page in my journal, to explore my passion projects and log my to-dos – which usually revolve around my passions, too. Each weekend I take as much time as I like to slowly and mindfully create my Weekend Log. Every layout is different but it is based on the free printable templates that you will find in the Planner Lovers Resource Library.
Whether you’re setting up for the first time, or migrating pages from a previous journal, I hope you now feel ready to start a new bullet journal notebook. If you want a helping hand, all of the printables I have used are available for download from my Etsy Shop or Planner Lovers Resource Library. What type of notebook will you choose, and what are your go-to pages? Leave me a comment or send an email, I love hearing about your journaling!